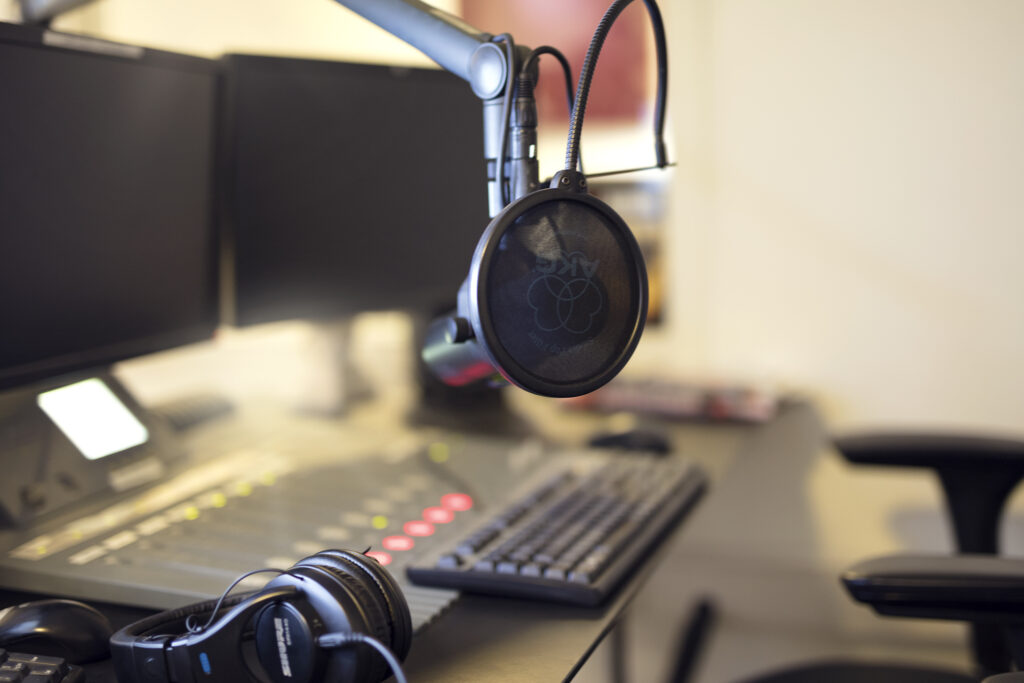
Whether you are a professional voice-over talent or a newbie trying to make a break in the voice-over industry you will need to create and set up your recording space/studio. A personal recording studio is an asset to your voice-over career because you can record any project anytime at your convenience and save on the cost of hiring for the services. Like any individual working from home, creating your own recording studio can give you an advantage in work-life balance, improve your work efficiency and you will have greater control of your voice-over work.
Here are Seven (7) Tips on How to Create Your Own Recording Studio:
Quiet room with minimum background noise
First, pick a space in your home that you’re most comfortable in since you will be spending most of your time in your home recording studio working on your project. Ideally, you want a totally quiet room since it gives you perfect conditions for creating your recording studio. Avoid noise-producing areas in your home like the kitchen, bathroom, and laundry room. The ideal room must also be comfortable to stand in and you should be able to move around.
Reducing bounce and reverb (adding acoustic treatment)
After selecting a room, you can proceed to acoustic treatment of your chosen recording studio room. Remember that your recording environment affects your audio before the microphone captures it. Acoustic treatment refers to how you set up your recording studio such that reflections are more managed. When you talk to the microphone, whatever you say comes out as sound waves. These waves hit the walls and floor of your room, bouncing off them, depending on what material they’re made of and the type of finishing they have. It can get really bad when some of the reflected sounds come back around and gets into the microphone and get recorded with the original vocal. The room must be fixed up to prevent reflection.
A closet is great
It is common for voice-over talent to set up their first recording studio in a closet, like a linen closet, hall closet, pantry, or closet beneath stairs. A closet has a lot of features that a voice-over artist might be looking forward to with a soundproof recording studio. It is a tiny space so the adjustment needed won’t cost much money or time. It is also quite isolated already and usually enclosed in an area that is already quiet
The smaller the space better
The smaller the space the better, since you can easily limit the noise and easily control the acoustic of your space. A larger space produces more echoes. Small spaces tend not to need as much diffusion as large spaces, but if your audio plays back sounding dull, throw some corners into your room. A bigger sound booth doesn’t mean better sound quality. As long as it’s appropriately set up, a small space can provide the quality sound as well.
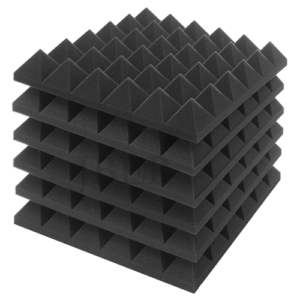
Acoustic foam tiles/panels (GIK acoustics/ Auralex
Acoustic foam tiles/panels are the most popular material for acoustic treatment. Acoustic foam can be easily assembled into various shapes. It is made of light materials and can be mounted without ruining the wall using removable solutions. Acoustic foam tiles/ panels are an affordable and easy-to-use solution when there is just too much noise. It is great for recording any kind of audio or video without bothering other people in the house.
Put some pillows and duvets around you
Duvet is a highly effective sound absorber to use. Use a chair or an ironing board or any material to suspend the duvet and position it. Having the duvet placed over your head can also stop reflections from the ceiling.
You can also use pillows for a DIY sound booth. The soft materials will absorb the sound and eliminate reverb/echoes. This is great for getting cleaner audio recordings. If you are recording at a desk, pillows are a great option behind and on the side of the microphone. You can rest the pillows horizontally and stack them for better sound absorption.
Acoustic blankets / Moving blankets / mattress topper
Blankets are also one sound-proofing solution. These can either be acoustic blankets or moving blankets that you can purchase at the hardware store. They are very simple and easy to set up, just drape the blanket over certain areas of the closet to kill sound and improve the acoustic effectively.
Mattresses are one of the best Do-It-Yourself (DIY) sound absorbers/soundproofing to use. They absorb more frequencies due to their size. Several mattresses can be used behind and beside the microphone to create an enclosed recording studio. Egg crate mattress covers are also an economical way to obtain soundproofing. It can be bought at discount supply stores and thrift stores. It can be installed easily by gluing or stapling them to your walls.
Creating your own recording studio is not an easy task. You can start with small steps. Start small, be creative, and invest in recording instruments. Then start recording in the comfort of your HOME.